[ad_1]
Get Components
Raspberry Pi is a credit card-sized computer that has gained immense popularity among tech enthusiasts for its versatility and affordability. Whether you’re a beginner or an experienced DIYer, setting up your own Raspberry Pi computer can be a rewarding and educational experience. In this article, we will discuss the essential components and steps needed to set up your own mini computer using a Raspberry Pi. All items can be purchased directly on Amazon, linked in the article below:
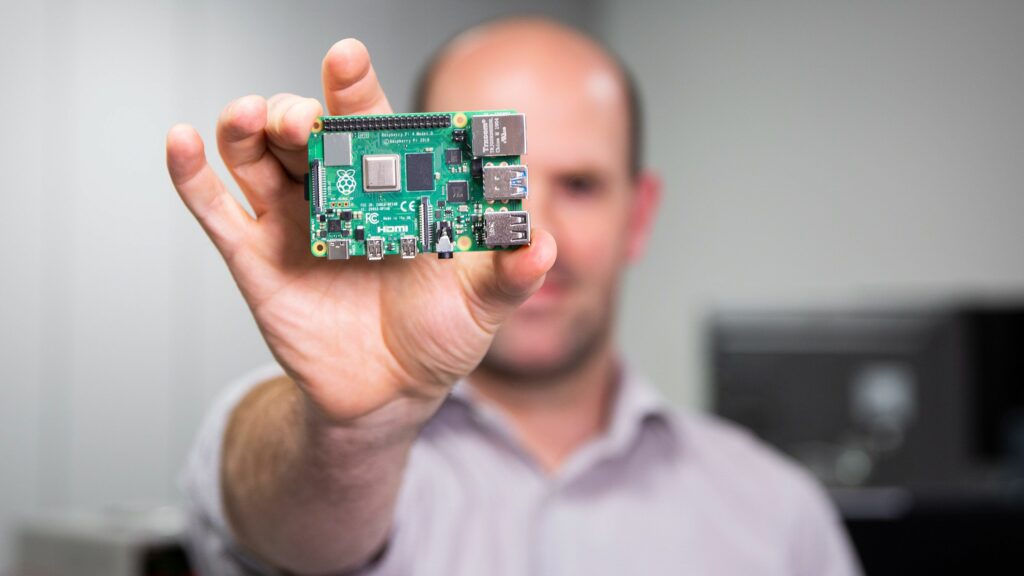
1. Raspberry Pi Board: The heart of your mini computer is the Raspberry Pi board itself. There are several models available, with the latest being the Raspberry Pi 4. The board features a processor, RAM, USB ports, HDMI port, and other essential components. Make sure to choose the model that best suits your needs and budget. You can buy it directly on amazon for about AED 240 in the United Arab Emirates.
2. Power Supply: To power your Raspberry Pi, you will need the officlay Raspberry PI power supply or any micro USB power supply. The power requirements vary depending on the model of the Raspberry Pi, so be sure to choose a power supply that is compatible with your specific model.
The gear I run for this
Hardware from my own homelab, relevant to this guide — direct Amazon links.
Affiliate links — I earn a small commission at no extra cost to you. Browse my full homelab store →
3. MicroSD Card: The Raspberry Pi does not have built-in storage, so you will need a microSD card to store the operating system and your files. Look for a high-quality microSD card with a capacity of at least 16GB. I am using a Sandisk 64gb extreme microSD card that works perfectly fine.
4. Operating System: The Raspberry Pi runs on various operating systems, with Raspberry Pi OS (formerly Raspbian) being the most popular choice. You will need to download the operating system image and write it to the microSD card using a computer. There are several tools available to do this, such as Etcher or Win32 Disk Imager. I prefer using Etcher, its easy and straighforward.
5. Display: To use your Raspberry Pi as a computer, you will need a display. The Raspberry Pi has an HDMI port that allows you to connect it to a monitor or TV. Make sure you have the necessary cables and adapters to connect your Raspberry Pi to your display.
6. Keyboard and Mouse: You will also need a keyboard and mouse to interact with your Raspberry Pi. Any standard USB keyboard and mouse will work, so choose ones that you are comfortable using.
7. Case: While not essential, a case can help protect your Raspberry Pi and give it a more polished look. There are various cases available, ranging from simple plastic enclosures to more elaborate designs. I use the offical raspberry pi case.
Setup your Raspberry PI
Once you have gathered all the necessary components, you can begin setting up your Raspberry Pi. Insert the microSD card with the operating system into the Raspberry Pi, connect the power supply, display, keyboard, and mouse, and turn it on. Follow the on-screen instructions to complete the initial setup, including configuring your network connection and updating the software.
With your Raspberry Pi set up, you can explore the various projects and applications that are available for this versatile mini computer. Whether you want to use it as a basic desktop computer, a media center, a gaming console, or for more advanced projects such as home automation or robotics, the possibilities are endless.
Setting up your own mini computer using a Raspberry Pi is a fun and educational endeavor that can open up a world of opportunities for learning and creativity. By following the essentials outlined in this article, you can quickly and easily set up your own Raspberry Pi and start exploring the exciting world of DIY computing.
[ad_2]