[ad_1]
In today’s world, keeping our homes and offices secure is becoming increasingly important. Thankfully, with the use of technology, we have access to a wide range of security solutions. One such solution that has gained popularity among tech enthusiasts and DIY enthusiasts alike is the Raspberry Pi. This tiny, affordable computer can be transformed into a powerful security system, capable of monitoring and protecting our spaces effectively.
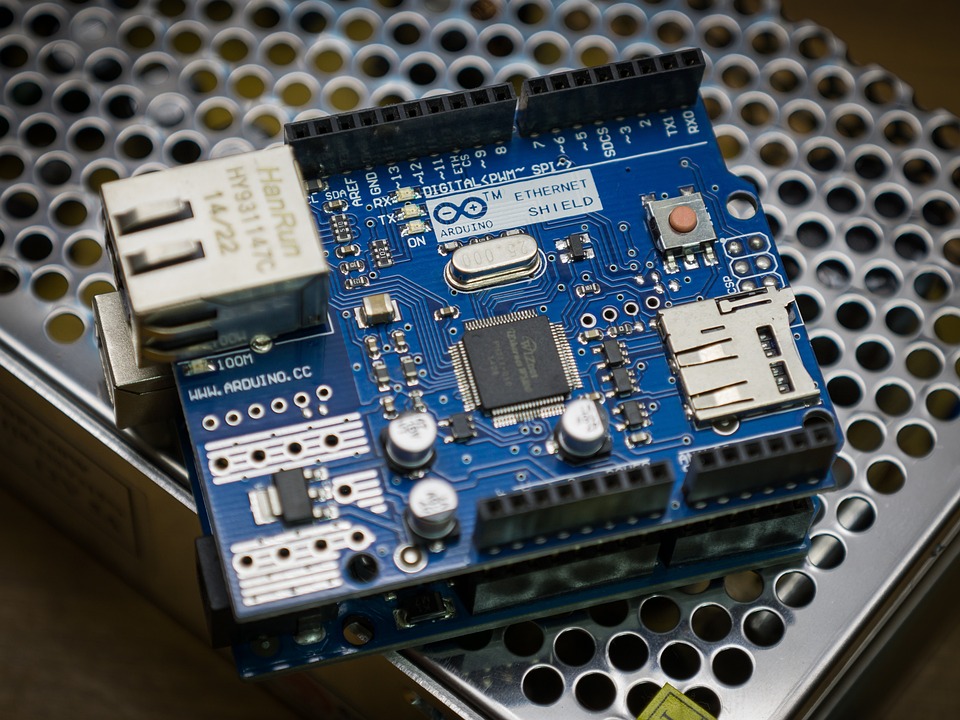
The Raspberry Pi is a credit card-sized computer developed with the intention of promoting computer science education. However, due to its flexibility, it has found its way into various applications, including security. With its small form factor, low power consumption, and compatibility with multiple operating systems, the Raspberry Pi has become an incredibly versatile tool for building DIY security systems.
One of the primary uses of the Raspberry Pi in enhancing security is through video surveillance. By connecting a camera module to the Raspberry Pi, users can create their own robust monitoring system. Whether you want to keep an eye on your home or office, this solution allows you to record and observe any activity in real-time.
Setting up a Raspberry Pi surveillance system is relatively simple. First, you will need to gather the necessary components: a Raspberry Pi board, a camera module, a power supply, and a microSD card for the operating system. After assembling the hardware, you can install an operating system such as Raspberry Pi OS or Motioneye OS. Both of these operating systems provide user-friendly interfaces for managing your security system.
Hardware:
- Raspberry Pi (any model will do, but Pi 3 or 4 recommended for better performance)
- Camera module (Official Raspberry Pi Camera or compatible alternative)
- MicroSD card (minimum 8GB, 16GB recommended)
- Power supply (micro USB cable and adapter)
- HDMI cable (for initial setup)
- Case (optional, but recommended for protection)
- Additional hardware (depending on your project, you might need cables, resistors, LEDs, etc.)
Software:
- Operating system (Raspbian Lite is a good choice for CCTV systems)
- MotionEyeOS (popular CCTV software for Raspberry Pi)
Steps:
-
Set up your Raspberry Pi:
- Flash the OS onto the microSD card using Raspberry Pi Imager.
- Connect the Pi to a monitor, keyboard, and mouse using the HDMI cable and USB peripherals.
- Boot up the Pi and configure basic settings like Wi-Fi and password.
-
Install MotionEyeOS:
- Open a terminal window and follow the installation instructions for your chosen OS version.
- Configure MotionEyeOS by setting the camera resolution, recording options, motion detection sensitivity, and desired actions on detection (recording, notifications, etc.).
-
Connect the camera:
- Attach the camera module to the Raspberry Pi’s CSI port.
- In MotionEyeOS, go to the “Cameras” tab and enable the detected camera.
- Adjust camera settings like resolution, white balance, and night vision (if available).
-
Test and customize:
- Preview the camera feed and test motion detection by walking in front of the camera.
- Fine-tune the motion detection sensitivity to avoid false alarms.
- Explore MotionEyeOS’s features to set up recording schedules, email alerts, and remote access (requires port forwarding on your router).
-
Finalize your setup:
- Disconnect the monitor, keyboard, and mouse (if using headless setup).
- Place the Pi and camera in the desired location (consider weatherproofing if outdoors).
- Plug in the power supply and let your CCTV system run!
Additional tips:
- Use a high-quality SD card for reliable recording and playback.
- Consider adding a USB hard drive for extended storage.
- Explore add-on features like night vision LEDs, PIR sensors, or pan-tilt mounts for extra functionality.
- Remember to adjust motion detection sensitivity and recording settings to avoid capturing irrelevant activity and filling up your storage.
Here are some helpful resources to get you started:
- Official Raspberry Pi Camera Guide: https://www.raspberrypi.com/documentation/computers/camera_software.html
- MotionEyeOS Documentation: https://github.com/motioneye-project/motioneyeos
- Random Nerd Tutorials – Raspberry Pi CCTV System: https://m.youtube.com/watch?v=Y2QFu-tTvTI
Remember, this is a basic guide, and you can customize your CCTV system based on your needs and skills. Have fun with your DIY project and enjoy the peace of mind that comes with a home monitoring system you built yourself!
Recommended Hardware & Hosting
Build your homelab with hardware tested and used by our team.
NVIDIA Jetson Orin Nano40 TOPS GPU compute for edge AI. Run Ollama, Stable Diffusion, and small LLMs on dedicated hardware.~AED 900Raspberry Pi 5 (8GB)The ultimate homelab starter. Run Pi-hole, Home Assistant, lightweight AI, and Docker containers.~AED 370NVIDIA RTX 4070 Super12GB VRAM with higher compute. Excellent for Stable Diffusion XL, video AI, and LLM inference.~AED 2,700Affiliate links — we may earn a small commission at no extra cost to you.
Share this article