[ad_1]
Raspberry Pi has become synonymous with DIY projects and creative hacking, and one of its most popular applications is gaming. With its compact size and affordable price tag, the Raspberry Pi can be turned into a powerful retro gaming machine, capable of running classic arcade games from your childhood. In this ultimate guide, we’ll walk you through everything you need to know to build your very own retro arcade with a Raspberry Pi.
Hardware Requirements:
1. Raspberry Pi Board: The heart of your mini computer is the Raspberry Pi board itself. There are several models available, with the latest being the Raspberry Pi 4. The board features a processor, RAM, USB ports, HDMI port, and other essential components. Make sure to choose the model that best suits your needs and budget. You can buy it directly on amazon for about AED 240 in the United Arab Emirates.
2. Power Supply: To power your Raspberry Pi, you will need the officlay Raspberry PI power supply or any micro USB power supply. The power requirements vary depending on the model of the Raspberry Pi, so be sure to choose a power supply that is compatible with your specific model.
3. MicroSD Card: The Raspberry Pi does not have built-in storage, so you will need a microSD card to store the operating system and your files. Look for a high-quality microSD card with a capacity of at least 16GB. I am using a Sandisk 64gb extreme microSD card that works perfectly fine.
4. Operating System: The Raspberry Pi runs on various operating systems, with Raspberry Pi OS (formerly Raspbian) being the most popular choice. You will need to download the operating system image and write it to the microSD card using a computer. There are several tools available to do this, such as Etcher or Win32 Disk Imager. I prefer using Etcher, its easy and straighforward.
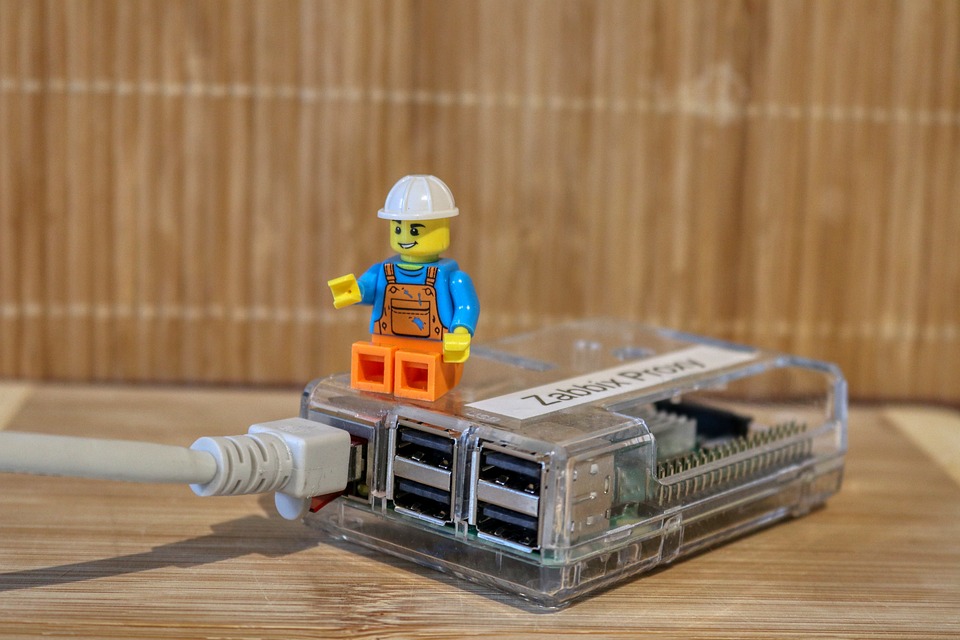
5. Display: To use your Raspberry Pi as a computer, you will need a display. The Raspberry Pi has an HDMI port that allows you to connect it to a monitor or TV. Make sure you have the necessary cables and adapters to connect your Raspberry Pi to your display.
6. Keyboard and Mouse: You will also need a keyboard and mouse to interact with your Raspberry Pi. Any standard USB keyboard and mouse will work, so choose ones that you are comfortable using.
7. Case: While not essential, a case can help protect your Raspberry Pi and give it a more polished look. There are various cases available, ranging from simple plastic enclosures to more elaborate designs. I use the offical raspberry pi case.
Setting Up the Software:
After gathering the required hardware, the next step is to set up the software. You’ll need an operating system to run the retro gaming platform. RetroPie is an excellent choice for this purpose. It’s a feature-rich software package that includes a collection of emulators capable of running games from various retro gaming consoles. Once you download the RetroPie image from their website, you can easily install it on the SD card using software like BalenaEtcher.
Installing RetroPie and Configuring Controllers:
Once you’ve flashed the RetroPie image onto the SD card and inserted it into the Raspberry Pi, you can power it on. The Raspberry Pi will boot into RetroPie, and you’ll be prompted to configure your USB controller or gamepad. Simply follow the on-screen instructions to map the buttons according to your preference.
Obtaining ROMs:
Gathering ROMs is the next step to building your retro arcade. ROMs, short for Read-Only Memory, are digital copies of the games you want to play. While ROMs can be found on various websites, it’s important to note that downloading copyrighted ROMs of games you don’t own is illegal. To avoid any legal issues, we recommend focusing on games that are in the public domain or for which you own the original cartridge or CD.
Transferring ROMs:
To transfer ROMs to your Raspberry Pi, you can use either a USB stick or transfer them over the network. If using a USB stick, create a folder named “retropie” on the USB drive, plug it into the Raspberry Pi, and wait for the green LED to stop blinking. Then connect to the Raspberry Pi via FTP from another device on the same network and locate the folder “roms” inside “retropie” to copy your ROMs into the respective console folders.
Adding Game Art and Metadata:
To enhance your gaming experience, you can add game art and metadata. RetroPie allows scraping game information from online databases, such as thegameDB or ScreenScraper. By accessing the “Manage Emulators” section of RetroPie, you can easily scrape game data, including box art, descriptions, and release year, for a more immersive gaming experience.
Building the Arcade Cabinet:
Finally, it’s time to put your Raspberry Pi gaming system into a retro arcade cabinet. This step is optional but adds a nostalgic touch to your gaming experience. You can find numerous tutorials online that guide you through the process of building your own arcade cabinet using materials like wood or even repurposing an existing cabinet.
The Final Setup:
Once you’ve completed building your arcade cabinet, connect your Raspberry Pi to a monitor or TV using the HDMI cable. Power up your retro arcade cabinet, and you’ll be greeted with RetroPie’s user-friendly interface, ready to unleash hours of nostalgia with your favorite classic games.[ad_2]
Recommended Hardware & Hosting
Build your homelab with hardware tested and used by our team.
Affiliate links — we may earn a small commission at no extra cost to you.