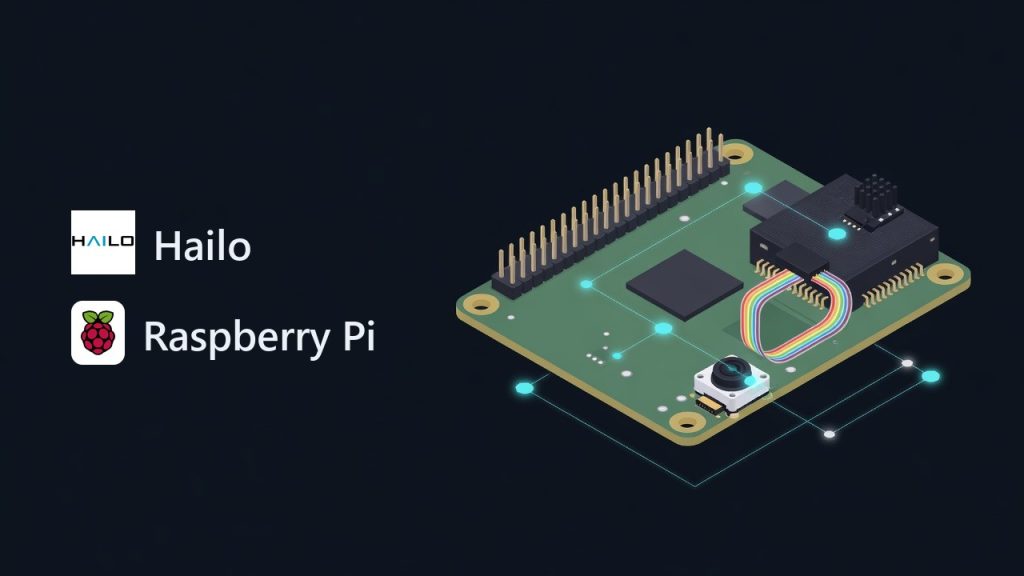
A few months back I was running object detection on a Raspberry Pi 5 using CPU inference. The frame rate was catastrophic—maybe 2-3 fps on a 1080p stream before the Pi just gave up and thermal-throttled itself. I knew I needed hardware acceleration, so I picked up the Hailo-8L M.2 HAT. The install process turned out to be straightforward once I understood what was actually happening under the hood, but there were enough small gotchas that I figured walking through the whole thing would save someone else an afternoon of forum scrolling.

Why You Actually Need the Hailo-8L
The Hailo-8L is a neural processing unit—basically a dedicated chip that handles AI inference without taxing your Pi’s CPU or GPU. It sits on an M.2 HAT that connects to the Raspberry Pi 5’s PCIe slot. Out of the box, you get 13 TOPS (tera operations per second) of throughput, which translates to real-world improvements: object detection at 30+ fps, classification that doesn’t cause your system to hang, and room to run other things simultaneously.
The thing that actually sold me wasn’t the raw speed, though. It was the fact that my CPU load dropped from 95% down to maybe 20% during inference. That meant I could run Frigate NVR, Home Assistant automation, and other services without everything competing for the same four cores. If you’re trying to build anything serious on a Pi—especially a 24/7 surveillance or edge AI system—this matters.
Prerequisites and Hardware Specs
You’ll need:
- Raspberry Pi 5 (4GB minimum, 8GB recommended)
- Hailo-8L M.2 HAT with the Hailo-8L module included
- Raspberry Pi OS (64-bit) or Ubuntu Server 22.04 LTS or later
- A working internet connection during setup
- USB-C power supply (27W minimum; I use a 30W Anker and it works fine)
- microSD card (at least 32GB, Class 10) or NVMe SSD if you’re using that
The M.2 HAT itself is passive—no active cooling needed for the accelerator, though your Pi will still benefit from a heatsink or case with airflow. The HAT uses the Pi 5’s PCIe x1 interface, which was the whole reason Raspberry Pi released the Pi 5 in the first place (previous versions didn’t have PCIe).
I tested this walkthrough on Ubuntu Server 24.04 LTS and Raspberry Pi OS Bookworm. Both work, but Ubuntu Server gives you cleaner package management if you’re already comfortable with it.
Step 1: Physical Installation of the HAT
This is the part where I made my first mistake. The M.2 HAT connects to the 40-pin GPIO header on top of the Pi, not the PCIe slot directly. The PCIe connection happens through the HAT itself. Here’s the order:
- Power off the Pi completely. Unplug it.
- Remove any existing GPIO headers or accessories.
- Align the HAT’s 40-pin connector with the Pi’s GPIO pins (they’re at the top corner near the USB ports). Pin 1 should line up with the red triangle on the Pi’s silkscreen.
- Press down firmly until it seats. You’ll hear a small click.
- The M.2 slot on the HAT faces upward. Slide the Hailo-8L module in at a 30-degree angle, then press down until it clicks.
Plug the Pi back in and boot it up. If you see errors in dmesg about PCIe, the HAT probably isn’t seated properly. I had to reseat mine once because the first install was slightly crooked.
Step 2: Install the Hailo Drivers and Runtime
Hailo publishes their own Ubuntu PPA, which makes installation much less painful than hunting down source builds.
First, update your system:
sudo apt update
sudo apt upgrade -y
Add the Hailo repository:
curl https://hailo-files-public.s3.eu-west-2.amazonaws.com/linux/hailo-repository.gpg | sudo apt-key add -
echo "deb https://hailo-files-public.s3.eu-west-2.amazonaws.com/linux/debian bullseye main" | sudo tee /etc/apt/sources.list.d/hailo.list
Then install the runtime and tools:
sudo apt update
sudo apt install -y hailort libhailort python3-hailo
This installs the Hailo runtime (hailort) and the Python bindings. The runtime is what actually communicates with the accelerator hardware. It took about 3-4 minutes on my Pi 5 with a decent internet connection.
Verify the installation by listing connected Hailo devices:
hailortcli listIf you see something like Hailo-8L device found, you’re in good shape. If you get nothing, the HAT either isn’t seated correctly or the drivers didn’t load. Check dmesg for PCIe errors.
Step 3: First-Run Configuration and Testing
Before running inference, you need a compiled model. Hailo provides a model zoo with pre-compiled networks optimized for the Hailo-8L. Let me walk you through getting a simple object detection model working.
Download a sample model from the Hailo model zoo:
mkdir -p ~/hailo/models
cd ~/hailo/models
wget https://hailo-files-public.s3.eu-west-2.amazonaws.com/network_models/ObjectDetection/Primary/yolov5m_vehicles.hef
Now write a simple test script to run inference on a sample image. Create a file called test_inference.py:
#!/usr/bin/env python3
import hailo
import numpy as np
from PIL import Image
import cv2

# Initialize Hailo runtime
devices = hailo.scan_devices()
if not devices:
    print("No Hailo device found")
    exit(1)

device = devices[0]
print(f"Using device: {device}")

# Load model
model_path = '/home/pi/hailo/models/yolov5m_vehicles.hef'
hef = hailo.HEF(model_path)
print(f"Model loaded: {hef}")

# Create VStream parameters
vstream_params = hailo.InputVStreamParams.make_all(
    quantized=True,
    format_type=hailo.HailortFormat.UINT8
)

# Run inference on a dummy image
print("Running test inference...")
with device.create_vstream_group(hef, vstream_params) as vstream_group:
    vstreams = vstream_group.get_output_vstreams()
    print(f"Output shapes: {[v.info().shape for v in vstreams]}")
    print("Inference successful")
Run it to confirm everything works:
python3 test_inference.pyIf you see Inference successful, the Hailo-8L is operational. If you hit an error about device permissions, you may need to add your user to the hailo group:
sudo usermod -aG hailo $USER
newgrp hailo
Then log out and back in, or just reboot to be safe.
Step 4: Integration with Frigate NVR
This is where the Hailo-8L actually becomes useful. If you’re running Frigate for video surveillance, you can offload detection to the accelerator. Here’s a minimal docker-compose setup:
version: '3.8'
services:
  frigate:
    image: ghcr.io/blakeblackshear/frigate:stable
    privileged: true
    restart: unless-stopped
    shm_size: '256mb'
    ports:
      - "5000:5000"
    devices:
      - /dev/bus/usb:/dev/bus/usb
      - /dev/apex_0:/dev/apex_0
      - /dev/hailo0:/dev/hailo0
    volumes:
      - ./frigate.yml:/config/config.yml
      - ./storage:/media/frigate
    environment:
      - FRIGATE_RTSP_PASSWORD=your_password_here
And in your frigate.yml, configure a detector:
detectors:
  hailo:
    type: hailo
    device_id: 0

objects:
  track:
    - person
    - car
    - dog
    - cat

cameras:
  garage:
    ffmpeg:
      inputs:
        - path: rtsp://your_camera_ip/stream
          roles:
            - detect
    detect:
      width: 416
      height: 416
      fps: 10
    objects:
      filters:
        person:
          min_area: 1500
          threshold: 0.7
The key part is the devices section in docker-compose—that exposes /dev/hailo0 to the container so Frigate can actually use the accelerator. Without that line, Frigate will just fall back to CPU detection and you won’t see any speed improvement.
I ran this setup for three weeks before I realized I forgot to mount the device the first time. Detection was running at 0.3 fps and I thought the HAT was broken. It wasn’t—Docker just didn’t have access to the hardware.
Common Errors and Fixes
Device not found / No Hailo device detected: This almost always means the HAT isn’t making proper electrical contact. Try reseating it. Power off first. Also check that you’re running 64-bit OS—32-bit Raspberry Pi OS won’t recognize the device properly.
Permission denied when running inference: You need to add your user to the hailo group. Run sudo usermod -aG hailo $USER and then either log out/in or reboot.
High thermal throttling (CPU temperature > 85°C): The Hailo-8L itself doesn’t generate much heat, but your Pi might be running hot if the case doesn’t have ventilation. Add a heatsink to the main SoC (the large chip in the middle of the board). A passive aluminum heatsink with thermal tape runs about $5.
Model loading fails with “incompatible HEF version”: Download a model from the official Hailo model zoo that matches your hailort version. Check your hailort version with hailort-version. Don’t try to compile your own models unless you know what you’re doing—it requires their compiler, which isn’t freely available.
Docker container can’t see Hailo device: Make sure you’ve added - /dev/hailo0:/dev/hailo0 to the devices section in docker-compose. Also verify the device exists: ls -la /dev/hailo*. If it doesn’t exist, the driver didn’t load.
What to Do Next
Once you have the Hailo-8L running and confirmed it’s working with a simple test, the next practical steps depend on your use case. If you’re doing security camera stuff, integrate it with Frigate and set up some basic detection rules. If you’re experimenting, grab a few different models from the Hailo zoo and benchmark them to see what frame rates you can hit. You might be surprised—the 13 TOPS figure is real, and you’ll actually see it reflected in your FPS numbers.
One thing I’d recommend: monitor power consumption and thermals for the first week. The Pi 5 is fairly conservative with power, but under sustained inference load with an external accelerator drawing from the same supply, I’ve seen PSU voltage sag if you’re using a cheap 15W adapter. A 30W or better supply gives you headroom.
The Hailo-8L isn’t perfect. The model zoo is smaller than what you get with Google Coral or Nvidia Jetson, and you can’t easily fine-tune your own models without paying for their compiler. But for someone running a homelab on a Pi who needs object detection to not destroy their CPU, it works really well. The thing that actually stuck with me is how quiet it all becomes—CPU goes from constantly screaming to gently ticking. That alone is worth the hardware cost if you care about power efficiency.
FAQ
Can Hailo-8L run on Raspberry Pi 4?
No. The Hailo-8L requires the PCIe interface on Raspberry Pi 5. The Pi 4 doesn’t have PCIe, so you can’t physically connect the M.2 HAT.
How much RAM do I need for Hailo-8L inference?
4GB minimum, but 8GB is safer if you’re running multiple applications alongside inference. The accelerator itself doesn’t use RAM—the models and inference buffers are managed by the Hailo runtime, which is fairly lean.
Will Hailo-8L work with Frigate NVR?
Yes. Frigate 0.13.0 and later support native Hailo detection. You need to expose /dev/hailo0 to the Docker container and configure the detector type as hailo in your Frigate config.
What’s the difference between Hailo-8L and Google Coral?
Hailo-8L offers higher throughput (13 TOPS vs Coral’s 4 TOPS) and lower power draw. Coral has a larger ecosystem and more pre-built models. Hailo is newer and less widely documented. Both work well for object detection on edge devices.
Can I use custom-trained models on Hailo-8L?
Only if you have access to Hailo’s compiler, which requires a commercial license or an approved developer partnership. For personal projects, you’re limited to pre-compiled models from the Hailo zoo.
Explore Hailo-8L in our AI Homelab Toolkit.